
Fire Alarm Installation Guide: How to Install a Fire Alarm System Step by Step
Fire emergencies can occur at any time, making early warning systems essential for protecting lives and property. A well-designed alarm system helps detect danger quickly and alerts everyone inside the building to take immediate action. However, many building owners feel unsure about where to begin or how the process works.
This step-by-step guide breaks down the complete fire alarm installation process clearly and practically. It explains key stages such as planning, device placement, wiring, and testing. By understanding each step, building owners and safety teams can ensure systems are installed correctly and perform reliably during emergencies.
What Is a Fire Alarm System?
A fire alarm system is a key safety solution used in commercial and industrial buildings to detect smoke, heat, or fire at an early stage. It alerts occupants through sound and visual signals, helping them respond quickly.
Early warnings reduce risk and damage. The system works automatically and also allows manual alerts during emergency situations.
Main Components of a Fire Alarm System
A fire alarm system is made up of several key components that work together to detect fire, smoke, or heat, alert occupants, and help protect the building from damage. Each part plays an important role in keeping people and property safe. These are the main components of a fire alarm system:
- 1. Fire alarm control panel
- 2. Smoke detectors
- 3. Heat detectors
- 4. Manual call points
- 5. Sounders/hooters/strobes
- 6. Power supply & backup batteries
Types of Fire Alarm Systems
1. Conventional Fire Alarm Systems
Conventional fire alarm systems split a building into separate zones. When a detector senses smoke or heat, the panel identifies the zone, helping responders locate the problem quickly. They are simple and reliable.
2. Addressable Fire Alarm Systems
Addressable systems give every device a unique code. The control panel shows the exact location of a fire or smoke alert. This makes identifying and handling emergencies faster and more accurately.
3. Wired vs Wireless Fire Alarm Systems
Wired systems use fixed cables, providing stable and reliable connections. Wireless systems connect devices without cables, making them easier to install in complex or older buildings while still maintaining safety.
Pre-Installation Planning for Fire Alarm Systems
1. Importance of planning before installation
Proper planning saves time, cost, and mistakes. It helps decide the right system type, device placement, and wiring. A clear plan ensures the fire alarm system works effectively when needed.
2. Site survey & risk assessment
A site survey studies the building’s size, use, and fire risks. Risk assessment identifies high-risk areas. Together, they guide where detectors, alarms, and panels should be placed for maximum safety.
3. Building Layout & Zone Planning
Dividing the building into zones makes detection faster. Planning zones makes sure alarms reach all areas, avoids blind spots, and helps responders locate the exact source of fire or smoke.
4. Tools & Materials Required
Tools include drills, screwdrivers, cable cutters, and testers. Materials include detectors, panels, call points, wiring, and mounting equipment. Preparing everything beforehand makes installation faster and smoother.
How to Install a Fire Alarm System – Step-by-Step Process
Step 1: Install the Fire Alarm Control Panel
Place the control panel in a safe, visible spot, like near the entrance or control room. Proper fire alarm control panel installation makes monitoring, maintenance, and emergency response easier and faster.
Step 2: Fire Alarm Control Panel Wiring
Run cables carefully from the panel to all devices. Label each wire clearly. Organised wiring prevents confusion and makes future repairs, checks, or upgrades easier and safer.
Step 3: Install Smoke & Heat Detectors
Place smoke detectors on the ceilings and heat detectors in areas where it gets hot. Keep the correct distance between them to cover all areas and avoid false alarms.
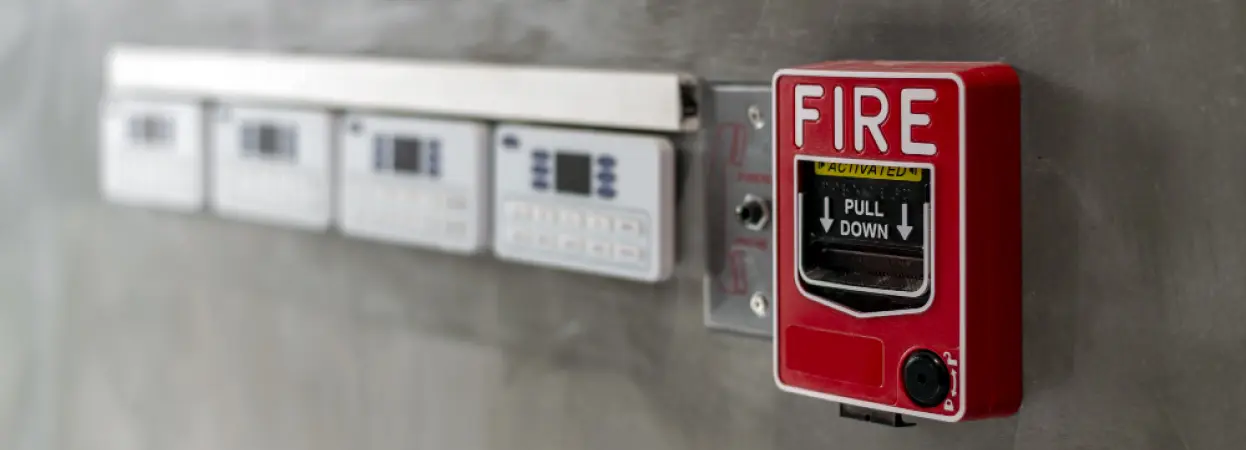
Step 4: Install Manual Call Points
Fix manual call points near exits, staircases, and key locations. They should be at a reachable height, allowing anyone to quickly trigger the alarm in an emergency.
Step 5: Install Notification Devices
Place alarms, flashing lights, and hooters where everyone in the building can hear or see them. Make sure all rooms, corridors, and areas are covered so people get alerts on time.
Step 6: System Wiring & Device Addressing
Connect all detectors, alarms, and call points to the panel. In addressable systems, assign unique codes so the panel shows the exact device location during an alert.
Testing & Commissioning After Installation
1. Functional Testing
All detectors, manual call points, and alarms are tested one by one. This confirms that each device sends signals correctly and alerts work properly in every area of the building.
2. Panel Programming & Final Checks
The control panel is set with correct zones and alert settings. Backup power is checked, and final inspections are done to make sure the entire system is ready for use.
Fire Alarm Installation Standards & Compliance
1. Applicable Fire Alarm Installation Standards
Fire alarm systems must follow fire alarm installation standards defined by national and local authorities. These rules guide system design, device placement, wiring methods, and testing practices to meet legal safety requirements.
2. Certification & Inspection Requirements
After installation, certified inspections are required to confirm that the fire alarm system works correctly, meets safety rules, and receives official approval from fire authorities before building use is fully permitted.
Common Fire Alarm Installation Mistakes to Avoid
Fire alarm installation mistakes often include wrong detector spacing, unclear wiring labels, poor zone planning, and a lack of system testing. These problems reduce alert accuracy and response time. Following the correct installation steps and safety guidelines helps prevent errors and ensures dependable fire protection.
Maintenance After Fire Alarm Installation
Regular maintenance keeps a fire alarm system working properly. Visual checks, alarm testing, and battery inspections help identify problems early. Planned maintenance reduces false alarms and ensures the system works during emergencies without failure.
Frequently Asked Questions
copyright © Trident Automation Systems Pvt. Ltd. All rights reserved.